One of the most popular tools to be found in music production studios is the audio compressor, commonly used as a dynamic range controller for leveling out a piece of audio. An audio compressor is a device which could be described in it’s simplest form as an automatic fader. These devices have a number of uses in a music mix and we will explain what those uses are and the basic controls. Audio compressors can be used for both creative and practical purposes. When you are learning, it can be quite tricky to hear the specific effects of a compressor so we need to attune the ear to the effects as we practice. We will start with fairly extreme settings which are easier to hear.
Compressors have a number of controls which may initially be confusing for a new user so we will explain the basic controls, some compressors may have further options to control sound but we shall keep this as simple as possible. If you open a compressor plug-in in your sequencer you can look at the controls as they are explained below.
Audio compressor controls

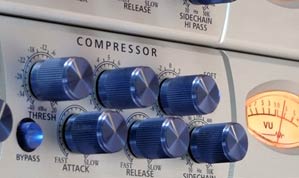
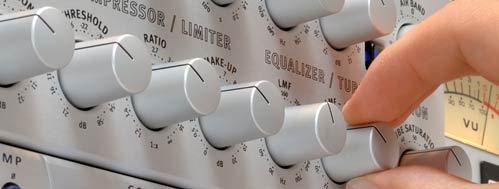
- Threshold – The threshold determines the audio level at which compression begins
- Ratio – The ratio determines how much compression is applied once the threshold has been exceeded.
- Attack – This function determines how quickly the compression will occur after the threshold has been met.
- Release – This function determines how quickly the compression action will return to a state of unity gain. (No compression)
- Make up – This is used to return the level back to where it was pre compression
Learning how to use a compressor
We will suggest using a plug in compressor as most people will have one inside their favorite digital audio workstation. I recommend 2 sources for practicing on.
- A drum beat
- A vocal performance.
When practicing with compression I suggest the following settings initially. We will work with the drum loop first. Peak your drum pattern to around -8dBFS, insert a compressor plug-in in a spare insert in your digital audio workstation and set it up as follows:
- Threshold – 16 dBFS
- Ratio – 10:1
- Attack – 4ms
- Release – 60ms

When you have completed the settings above you should be able to hear some compression and the overall volume of the audio will drop. The compressor is largely compressing the peaks in the audio file. I recommend making adjustments to both the attack and release times and keeping a close ear on what you hear as you do. This is a great way to gain ear to hand co-ordination. We have started with quite extreme settings here so you can more easily hear what effects the compression has on the sound. Listen carefully to the attack parts of the drum sounds. You will probably hear some softening of these transients (peaks). You can use the make up gain control to bring the level back up. Also try the bypass button so you can hear the difference between processed and unprocessed sounds. You can also try similar adjustments while listening to a vocal track. It is also a good source to practice on as human hearing is sensitive to changes in voices.
Having a goal in mind when you use a compressor in a music mix is important, you may have heard about compression because it seems everyone is using it. Compressors can add punch to sounds, they can alter the tonal balance by adjusting the transient to decay envelope of a sound. They can sometimes add body to a sound and also smooth out and level the sound. So try and think in terms of what you would like to achieve with a sound source before you start to use compression in an actual mix situation.
Practice will make perfect so do not give up too early if you are finding this process a little frustrating. Most things worth learning take some time and effort. Within some weeks of practice both on solo’d sources, and in the mix down itself, it should start to fall into place.


This is a great article! When I get home tonight I’ll be practicing my compression technique on solo’d tracks! Thanks so much for the inspiration and helpful info!
Could use a lot of these – to help my Music Students..
Keep up the good work